Setting up a Minikube Cluster on a Virtual Machine
This tutorial explains how to set up a virtual machine for running a Kubernetes Cluster locally using Minikube. This is only suitable for testing purposes.
Requirements
- VM ware / Hypervisor that works with Minikube, in this example we use Virtualbox
- Minikube (Installation Guide)
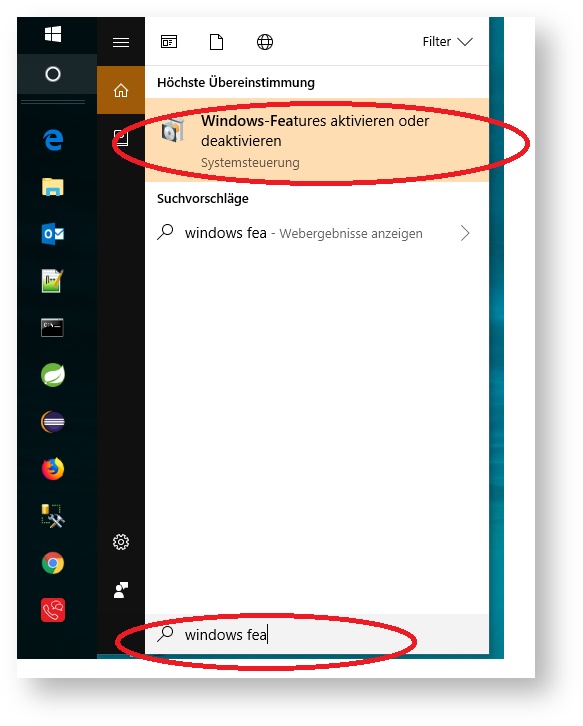
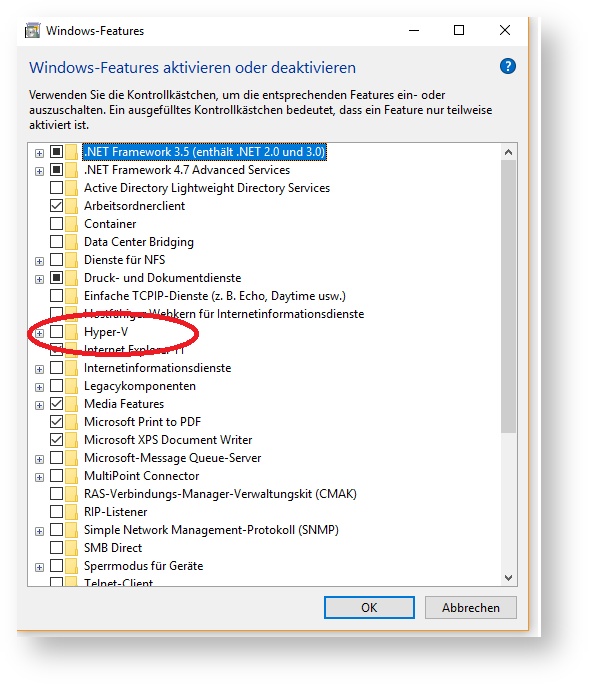
Launching Minikube will boot a virtual machine running a single-node Kubernetes cluster. You can use any version of Hypervisor Hyper-V or Virtualbox as the environment for the virtual machine. This installation guide was authored using the open-source software Virtualbox, so it is recommended that you work with this software as well. If you have used Hyper-V in the past and now want to use Virtualbox for your Kubernetes purposes, be aware that it is not possible to use both Hyper-V and Virtualbox at the same time. You will have to deactivate one or the other. It is possible that Minikube will run into trouble accessing its working directory if that working directory has been placed in the User directory. If you run into this problem, simply move the MINIKUBE_HOME environment variable to a more permissible place in your file system. When starting Minikube for the first time, you can pass parameters to the virtual machine that will be created. For example, to start a VM with 4 cores, 12GB of RAM and 60GB of hard drive space, use this command: Once the VM has been created on the first startup, these settings will be repeated on the next "minikube start". Common Minikube commands: command effectminikube start --memory 12288 --cpus 4 --disk-size 60gminikube start starts the virtual machine minikube stop pauses the virtual machine minikube status status of the virtual machine minikube delete deletes the virtual machine minikube ip shows the IP used by the virtual machine minikube dashboard opens the Kubernetes dashboard in the standard browser minikube help shows all commands

