Web-API Gateway (API-WEB)
The higher-level client API of the Web-API Gateway, as it is useful for client application developers.
Table of Contents
There currently are two documented client services:
- Web-API Gateway (API-WEB) - offering a labels layer in order to allow for multi-language applications, offering standard forms used to display object metadata in an appropriate manner - and offering functionality to cope with user settings and associated issues
- Usage of Viewer Service - offering views for a couple of common file types to be displayed directly in a client application. It is designed allow for easy integration of further viewers in addition to the free ones included already.
The third client service, the userservice, is accessed through the web-api gateway.
Introduction
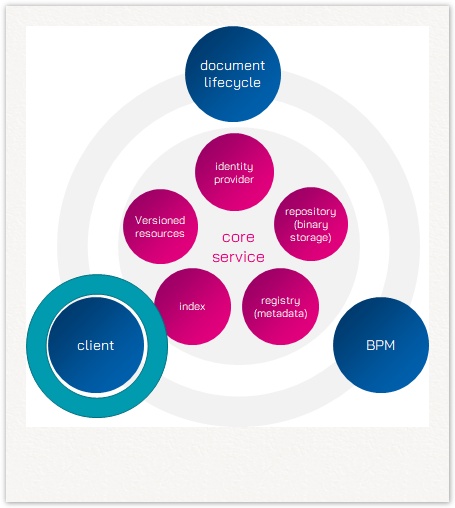
The yuuvis core service is considered as a backend for storing billions of objects and being strong in performance as well. To keep this performance all functionalities for a client that offers standard document management functionalities should be served by additional services. The web-API gateway (API-WEB) service is beside the userservice and the viewerservice service the main service for the client.
First of all, the service allows configuring the labels of object types and field names that should be shown to the users depending on the language the user has set in the client.
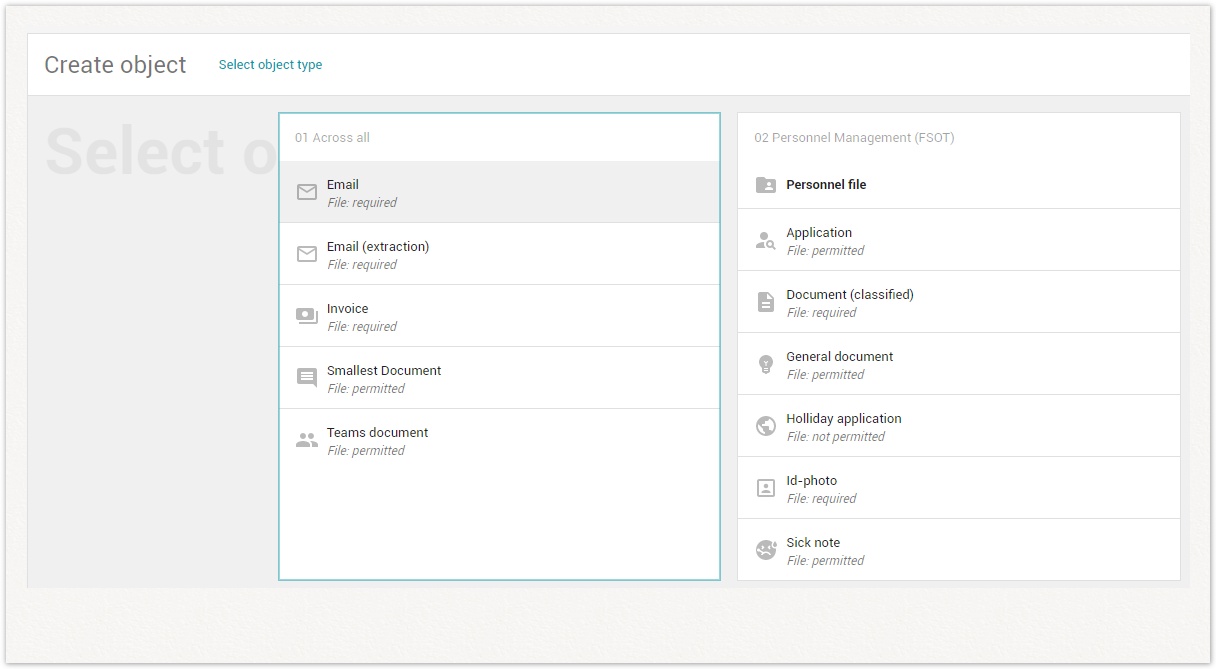
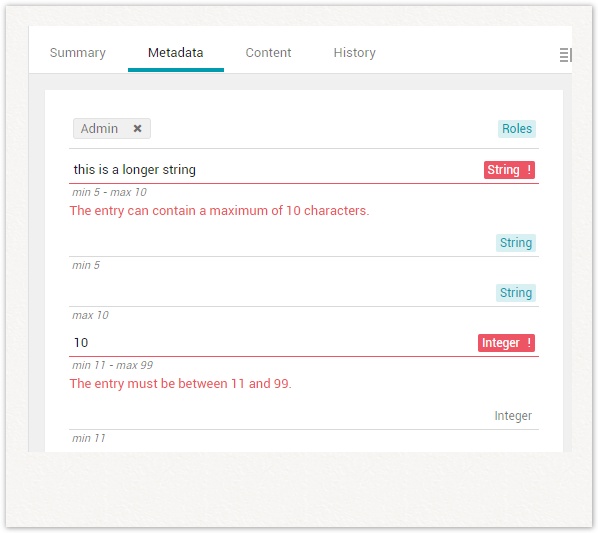
The second feature is to deliver standard forms for each object type and for the situations CREATE and EDIT, and maybe for SEARCH if necessary later on.
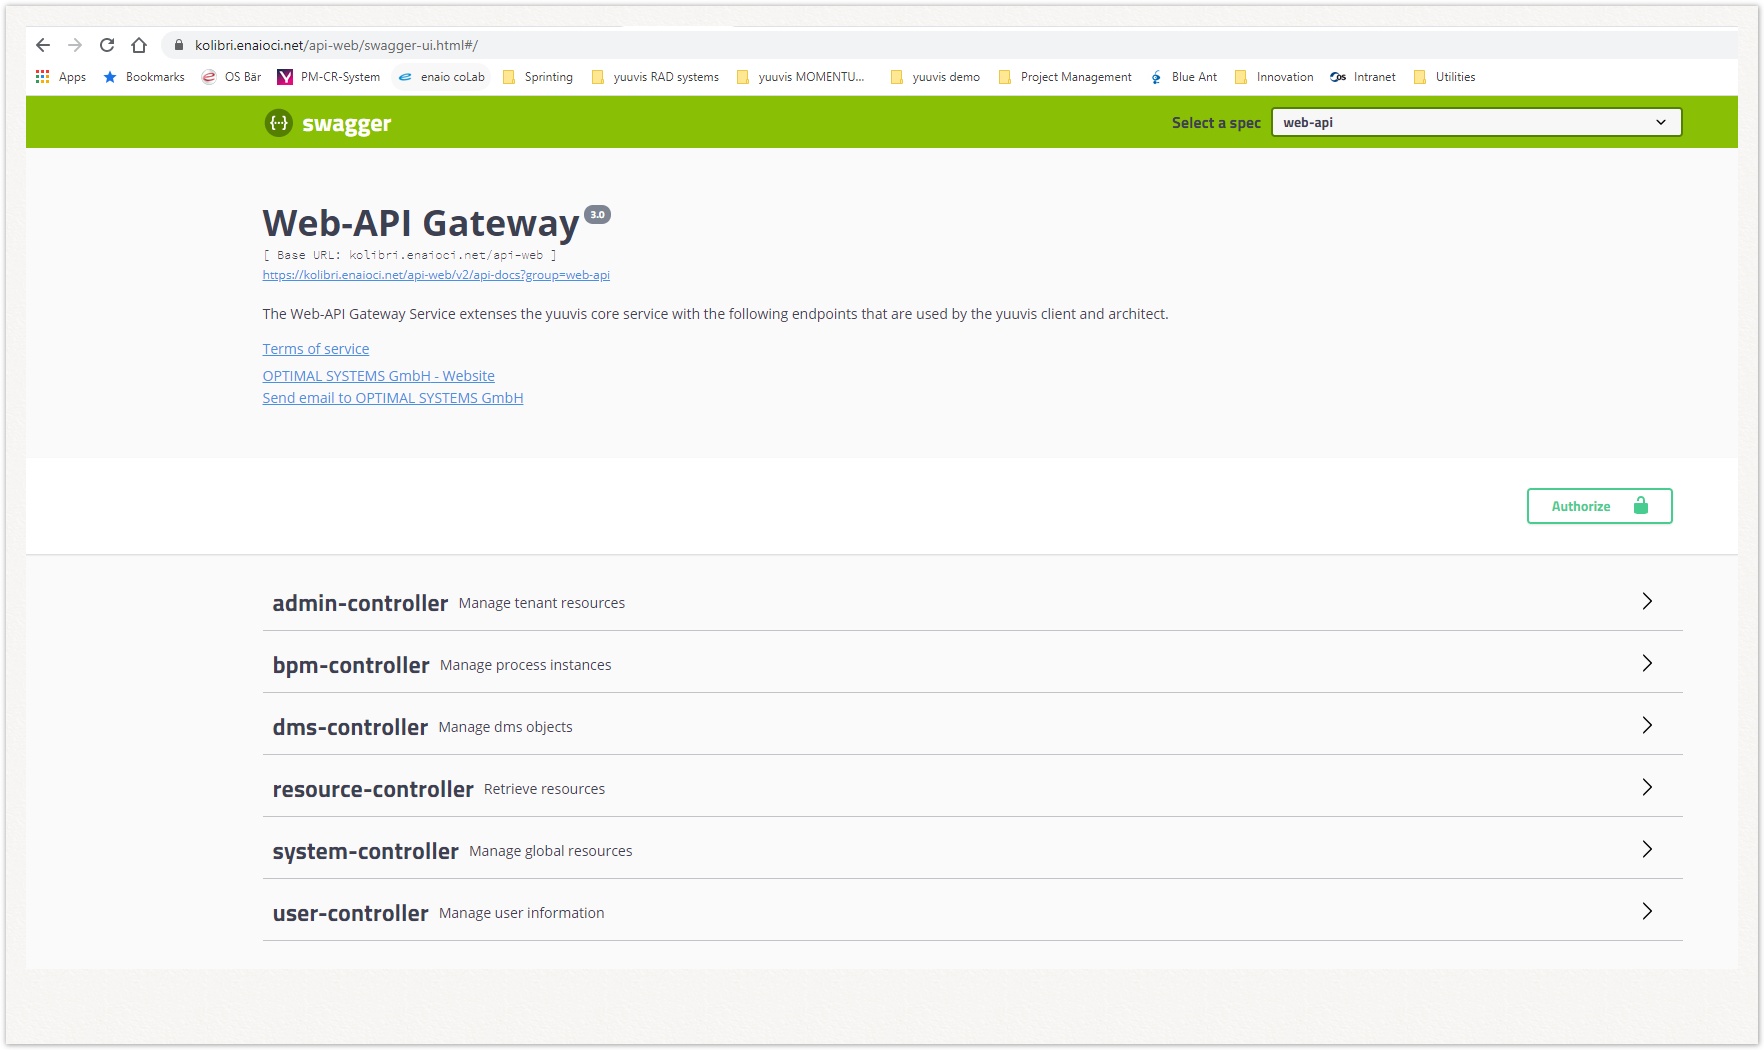
Currently, the API-WEB (web-api gateway) service offers several endpoints for storing this JSON-formatted data. In the future, our yuuvis® architect will support you in managing these labels. There is a Swagger-UI where administrators are supported by interfaces to maintain the data manually. Programmers get information on the URLs for the endpoints of a PUT or GET call: https://<host>/api-web/swagger-ui.html
Functionalities of the web-api gateway (API-WEB)
Managing Localization Files
The schema definition contains technical names for fields and object types. These fields are not really "readable" for users. To provide users with more meaningful terms in any language they may need, you have to create the respective language files. With the installation of the system, some global default settings are given for English and German language regarding the internal system fields.
The JSON-format for labels
The localization is in JSON format and contains key-value pairs. The key is the technical name of an object type or a field ending with _label and _description. The value is displayed by the client instead of the technical names referenced in the key.
For object types, the _description is used to group them in the object type selection dialog, e.g., for search or creation:
Recommendation: Group all extending object types in a group names 'Extension'. This may help the user in differentiating in object types that can be used for instantiating an object and those that can extend an existing object.
For field names, the _description is shown below the form field.
Saving Tenant-Specific Labels
- Open the admin-controller.
- Click the URL
../admin/resources/text/{locale}to open the management form. - Copy the JSON-formatted data into the resource input field and enter the DIN value for the corresponding language, e.g., de for Deutsch, and en for English.
- Click "Try it out" to save the data. Check the response message area to make sure that the data really has been saved as described.
Saving System-Specific Labels
- Open the system-controller.
- Click on the URL
../system/resources/text/{locale}to open the management form. - Copy the JSON-formatted data into the resource input field and enter the DIN value for the corresponding language, e.g., de for Deutsch, and en for English.
- Click "Try it out" to save the data. Check the response message area to make sure that the data really has been saved as described.
Reading all Labels
- Open the resource-controller
- Click on the URL
../resources/text,to open the management form. - Type the DIN value for the corresponding language, e.g., de for Deutsch, and en for English.
- Click "Try it out" to display all key-value pairs for labels and descriptions in the Response Body.
Managing Icons
In order to enhance the user experience of your client, you can configure icons for the different object types that will be displayed together with objects instantiated of the corresponding types. The icons are stored via CONFIG service either in the global or in the tenant-specific resources. The corresponding endpoints are Web-API Gateway Endpoints and thus also available via Swagger UI. The icons are expected as SVG files not larger than 512 KB.
The system-controller Endpoints for the icon management operate on the global resources:
- POST /api-web/api/system/resources/icon/{path} - Add or update an icon.
- GET /api-web/api/system/resources/icon/{path} - Retrive an icon.
The admin-controller Endpoints operate on the tenant-specific resources:
- POST /api-web/api/admin/resources/icon/{path} - Add or update an icon.
- GET /api-web/api/admin/resources/icon/{path} - Retrieve an icon.
The endpoint of the resource-controller retrieves the tenant-specific resource if available. If not available, the global resource is read.
>> GET /api-web/api/resources/icon/{path} - Retrieve an icon.
Each icon is introduced into the system together with a unique key to identify it in retrieval calls. The retrieval (GET) endpoints expect a key and return the corresponding icon, if existing. If the specified key is not available in the corresponding resource(s), a default icon will be returned. Alternatively, a fallback icon can be specified in addition to the desired icon. The fallback icon is returned instead of the default icon, if the key of the desired icon does not exist. The key of the fallback icon have to exist, of course.
Icons in yuuvis ® client as reference implementation
The icons are not configured automatically during the installation process, but have to be introduced manually afterwards. Use the technical names of object types as keys for the icon identification. For the fallback icons, the following three keys are available:
| key for fallback icon | object types for which the fallback is configured |
|---|---|
system:folder | all folder object types |
system:document | all document object types without floating secondary object types referenced in the schema definition |
system:dlm | all document object types with floating secondary object types referenced in the schema definition |
Recommended Icons
We recommend to use the icons of material icons as they will blend in with the design of all the other icons used in our client framework. A basic set of icons is already included in the framework library, which is delivered together with the reference client.
The recommended fallback icon for folder object types (system:folder):
Download SVG
The recommended fallback icon for document object types (system:document):
Download SVG
The recommended fallback icon for generic document types (system:dlm):
Download SVG
Managing Icons via Swagger UI
Saving Tenant-Specific Icons
- Open the admin-controller
- Click on the Endpoint POST /api-web/api/admin/resources/icon/{path} to open the management form.
- Click "Try it out".
- Select a file for the icon. It must be an SVG file and not larger than 512 KByte.
- As path, enter the technical name of an object type, e.g.,
tenMytenant:invoice. - Click "Execute" to save the data. Check the response message area to make sure that the data really has been saved as described.
Saving Global Icons
- Open the system-controller
- Click on the endpoint POST /api-web/api/system/resources/icon/{path} to open the management form.
- Click "Try it out"
- Select a file for the icon. It must be an SVG file and not larger than 512 KByte.
- As path, enter the technical name of an object type, e.g.,
email. - Click "Execute" to save the data. Check the response message area to make sure that the data really has been saved as described.
Reading Icons
- Open the resource-controller
- Click on the endpoint GET /api-web/api/resources/icon/{path} to open the management form.
- As path, enter the technical name of an object type.
- Click "Try it out".
- As fallback, enter the technical name of the object type that should be used if no path is specified.
- Click "Execute" to display all icons in the Response Body.
First the tenant-specific icons are checked. If the path is not available, the global path is checked. If this is also not available, the fallback is checked. If both are not specified, the default icon is retrieved.


